React state is a key concept for managing data within a component. It allows you to create interactive and dynamic user interfaces by keeping track of the changes in data over time.
Here’s an in-depth look at React state:
State in Class Components
In class components, state is a built-in object that stores property values that belong to the component. When the state object changes, the component re-renders.
Defining State
State is defined in the constructor of a class component:
import React from "react";

class Clock extends React.Component {
  constructor(props) {
    super(props);
    this.state = { date: new Date() };
  }

  render() {
    return <h2>It is {this.state.date.toLocaleTimeString()}.</h2>;
  }
}
Updating State
State is updated using the setState method. This method ensures that the component re-renders with the new state values.
We can set up a scheduled task to refresh the state at regular intervals, in order to achieve the purpose of re-rendering.
App.js:
import React from "react";

class Clock extends React.Component {
  constructor(props) {
    super(props);
    this.state = { date: new Date() };
  }

  componentDidMount(){
    this.IntervalId = setInterval( () => { this.tick() }, 1000 );
  }

  componentWillUnmount(){
    clearInterval( this.IntervalId );
  }

  tick() {
    this.setState({ date: new Date() });
  }

  render() {
    return <h2>It is {this.state.date.toLocaleTimeString()}.</h2>;
  }
}
export default function App() {
    return (
      <Clock></Clock>
    );
}
.
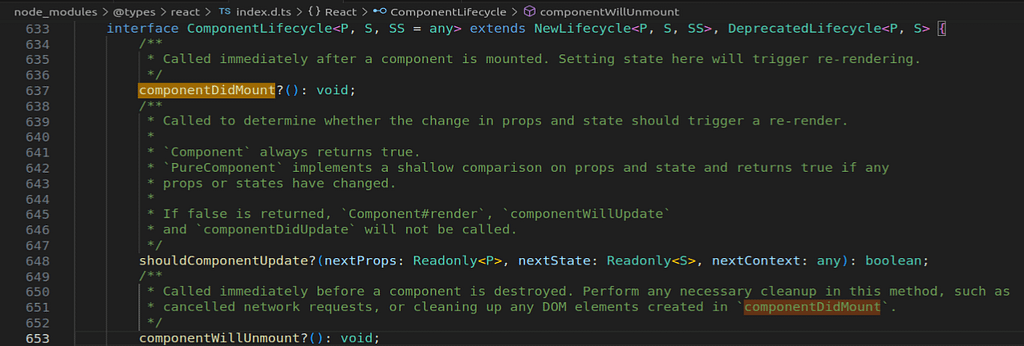
The methods componentDidMount() and componentWillUnmount() are called lifecycle hooks.
The componentDidMount() hook is executed after the component has been output to the DOM, and we can set a timer in this hook.
The IntervalId, stored in this.IntervalId, is the ID of the timer, and we can clear the timer in the componentWillUnmount() hook.
.
State in Functional Components (Hooks)
With the introduction of hooks in React 16.8, functional components can also have state. The useState hook is used for this purpose.
Defining State with useState
The useState hook returns an array with two elements: the current state value and a function to update it.
import React, { useState } from 'react';
function Counter() {
const [count, setCount] = useState(0);
return (
<div>
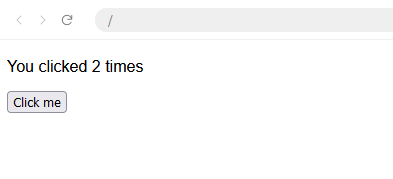
<p>You clicked {count} times</p>
<button onClick={() => setCount(count + 1)}>
Click me
</button>
</div>
);
}
export default function App() {
return (
<Counter></Counter>
);
}
.
You update the state by calling the state updater function (in this case, setCount) with the new state value.
You can set an initial state value directly in the constructor for class components or within the useState call for functional components.
const [count, setCount] = useState(0);  // Functional Component
this.state = { count: 0 };  // Class Component
Note: always use setState or the state updater function from useState to update state, never mutate state directly.
By effectively managing state, you can build complex and interactive UIs that respond to user inputs and data changes efficiently.